Sunday, 1 September 2013

A blog every day in September: Day 1 Who am I?

I follow a blog about motherhood and saw that the writer did a 'blog every day in August' challenge and I really enjoyed reading it, so I have decided to take part in Chickywiggle's blog every day in September

Day One: Who am I?

Easy peasy:

  • Ali, 28, live in Dorset with hubby, 7 month old boy and Border Terrier
  • I'm about to start back at work as a Secondary Teacher - part time hours, but totally dreading it (planning to blog about back to work experiences! Stay tuned!)
  • I love to craft! I'll try anything with the right guidance, but I really enjoy machine sewing. (Some of my creations can be found here and here)
  • I started to blog just to get some thoughts and ideas down on 'paper' - some are like diary entries, some are rants about things that annoy me, some are about the things I have been crafting. I'm not very good at keeping up to date with it. I can go months without doing anything, so I think this 'blog everyday' will give me a little kick start, and maybe some ideas too!

As a secondary teacher we run 'humanities' lessons which is basically history, geography and RE in one lesson. My colleague and I have planned a whole term's work called 'Who am I?'. It is based around identity - the pupil explores their own identity as well their peers and looks at cultural identity of others too. It's a really interesting way of getting to know the pupils but they find it hard to express things about themselves. "Can I just say 'I enjoy playing x-box'?" is a regular question.

I think self reflection is a really important part of life - self understanding and value can be obtained by thinking (and practicing) What do I enjoy? What am I good at? Who am I?

Food!

This is an old post, from an old blog - just moving things around!

Food is a big part of the Hoskins life! Out for dinner and trying new things

However, there is nothing quite like making something yourself to share with friends and family so this will be the first of many posts about food we have made!

First - look at these disasterous cupcakes! These were made with our niece and nephew and tasted fine but they look awful! I dont know what we did wrong, but I thought I would post them to show that even when things go wrong, whack some sprinkles on them and eat them anyway!


Triumph!

This however felt like somewhat of a triumph. Inside is a chocolate sponge cake with chocolate fondant icing in the middle. You could make your own easily, but you could just as simply use a Betty Crocker ready made packet mix!
Once it was cooked, cooled and put together I smeared the remaining icing around the outside so that I had something to stick the chocolate fingers to. To give you a rough idea of size, this is a regular dinner plate - the cake tins were 20cm?? - and it took two packets of fingers to go round the ouside.
The berries on the top were fresh and delish, and we served the whole thing with cream so that it was more like a pudding than a cake as such!

I LOVE gingerbread!

Gingerbread is super easy to make whether you are an experienced baker or not. I used the following recipe this time but there are often recipes in childrens books, on the back of the brown sugar packet, on the back of the gingerbread man cutter box and so on!

As it was Christmas we decided gingerbread SNOWmen were on the cards. Below are two images - one used ready to roll icing that we then cut with the same gingerbread man cutter and laid on top (with a tiny bit of water to make it stick!) and then we decorated. The other is using icing sugar and water to make a sort of paste that we thought looked more like snow! It all depends on how much time, space, effort you have to make! They went down a storm at the family christmas gatherings!
 

Christmas makes

This is an old blog post, from an old blog

I wanted to share some hand made bits and bobs that I made for Christmas presents this year. Some are from my own imagination, some I have made from patterns in books and some I have copied from things I have seen in books/online/other blogs etc etc

Enjoy!

Pin Board for Mum -

Easiest and quickest thing I have ever made!! There is a piece of foam board inside that was about a fiver from Hobbycraft - I cut it in two and made two A2 (ish?) pin boards. I used spray adhesive to stick some wadding and the fabric, then used a glue gun to stick the ribbon on the top and the edges so that things can be hung from it. Quick easy and a lovely gift - my mum uses hers in the kitchen, but also takes it to her craft fayres to display things she's made - like brooches or cards and so on.

You could put some fabric on the back too if you wanted it to look a little bit more professional/neat as my edges were a bit scrappy on the back. I have also seen people using a cork board inside so that you can add pins rather than pegs as I have used here, but you would need to avoid the wadding if that was the case for you!

Polkadot Pinboard
The finished product


Cushions for a friend

These are actually from last year.
These cushions were quick and easy - two squares of fabric sewn together (even with my limited sewing experience last year!). The middle is pinched together using self covered buttons (available from good haberdashery shops or online). Last year my experience was rather limited and I ended up making the cushions before buying the cushion pads - idiot! And I also should have bought nicer quality fabric to make them look a little nicer - but hey, you live and learn!


Christmas cushions for our house

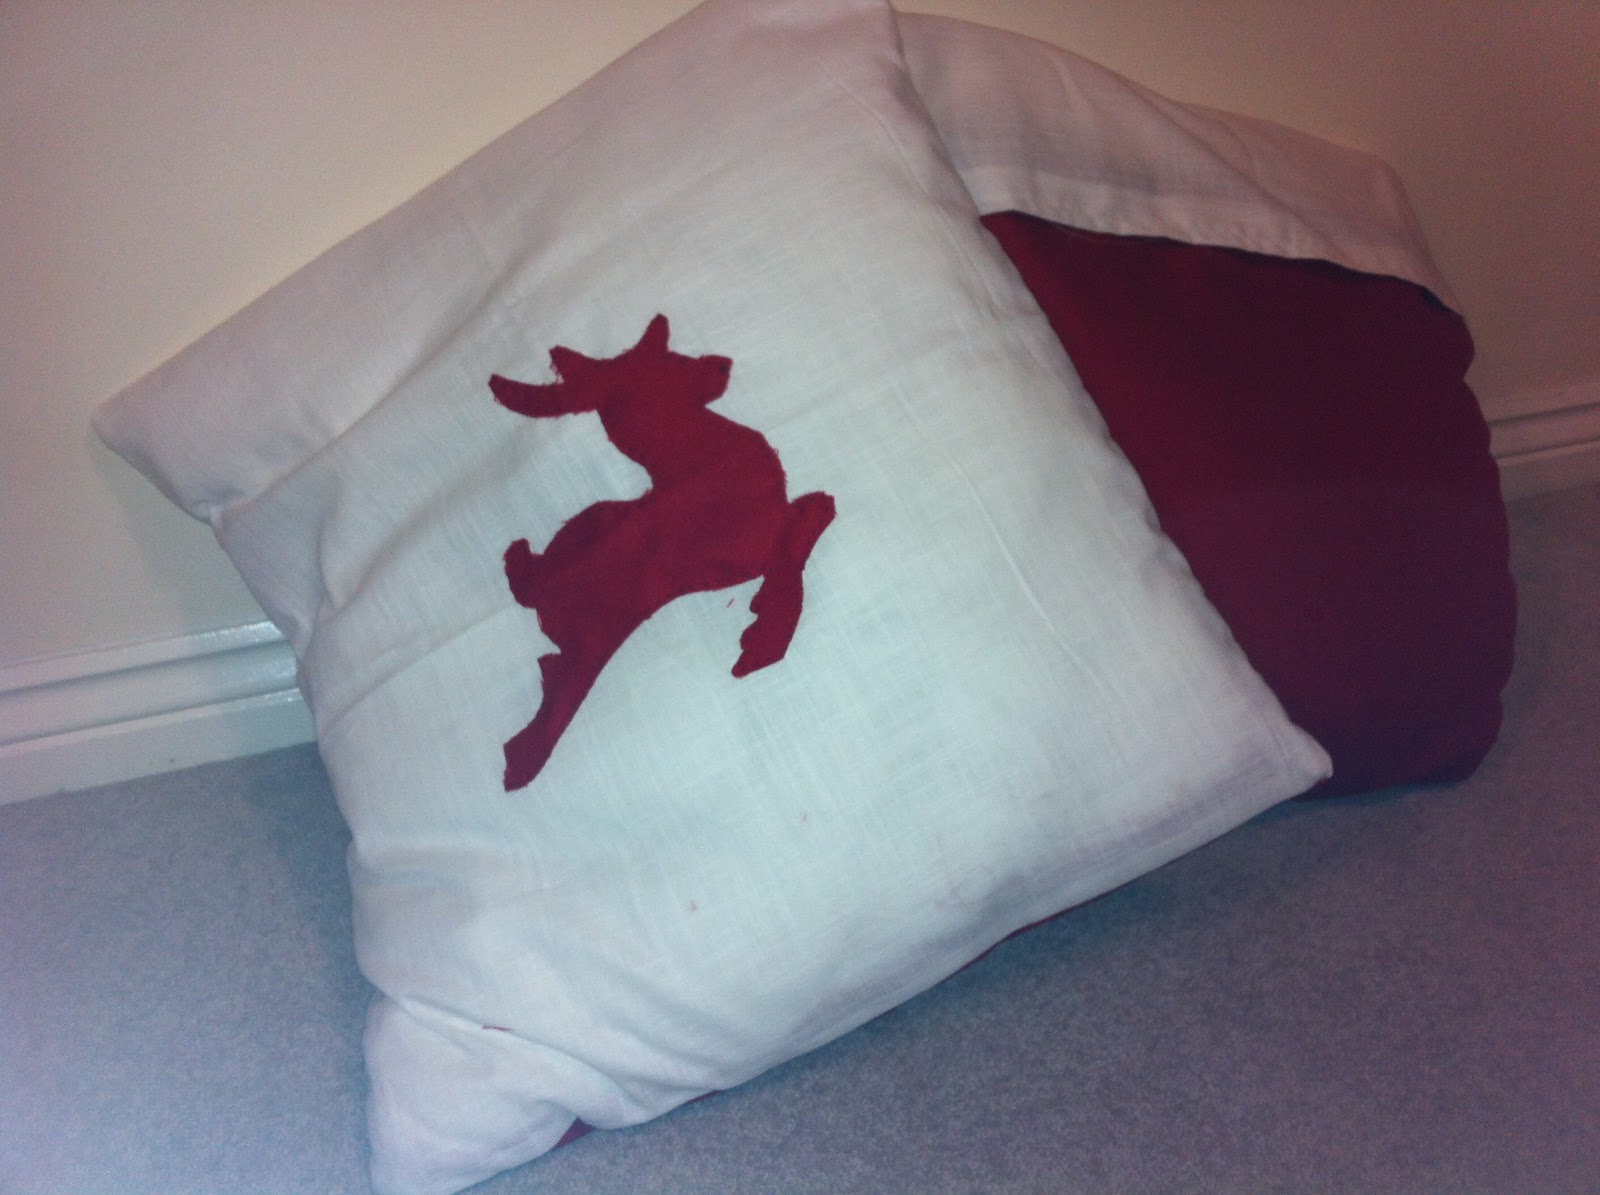
These cushions were made using left over fabric from some other projects - hence the red and white backs! I downloaded the simple reindeer shape from the internet - a simple google images search! And used that as a template for my fabric. I hand stitched them to the cream colour backing fabric to get the effect that I wanted, but you could easily zig-zag stitch them on for a sturdier and neater finish.
I am yet to master attaching a zip so all my cushions have fold-over backs. To do this I hem the edges of the fabric where it will be showing before I attach the cushion backing to the front cover to get a neater finish.
As I said - all very basic, but it works for me and hopefully my short tips can help other beginners at this activity!


Cushions for the In-Laws!

My mother-in-law is an avid crafter so I was nervous about doing these, but with a baby on the way we needed to be saving money! Making them cost relatively little, and it kept me entertained for free!

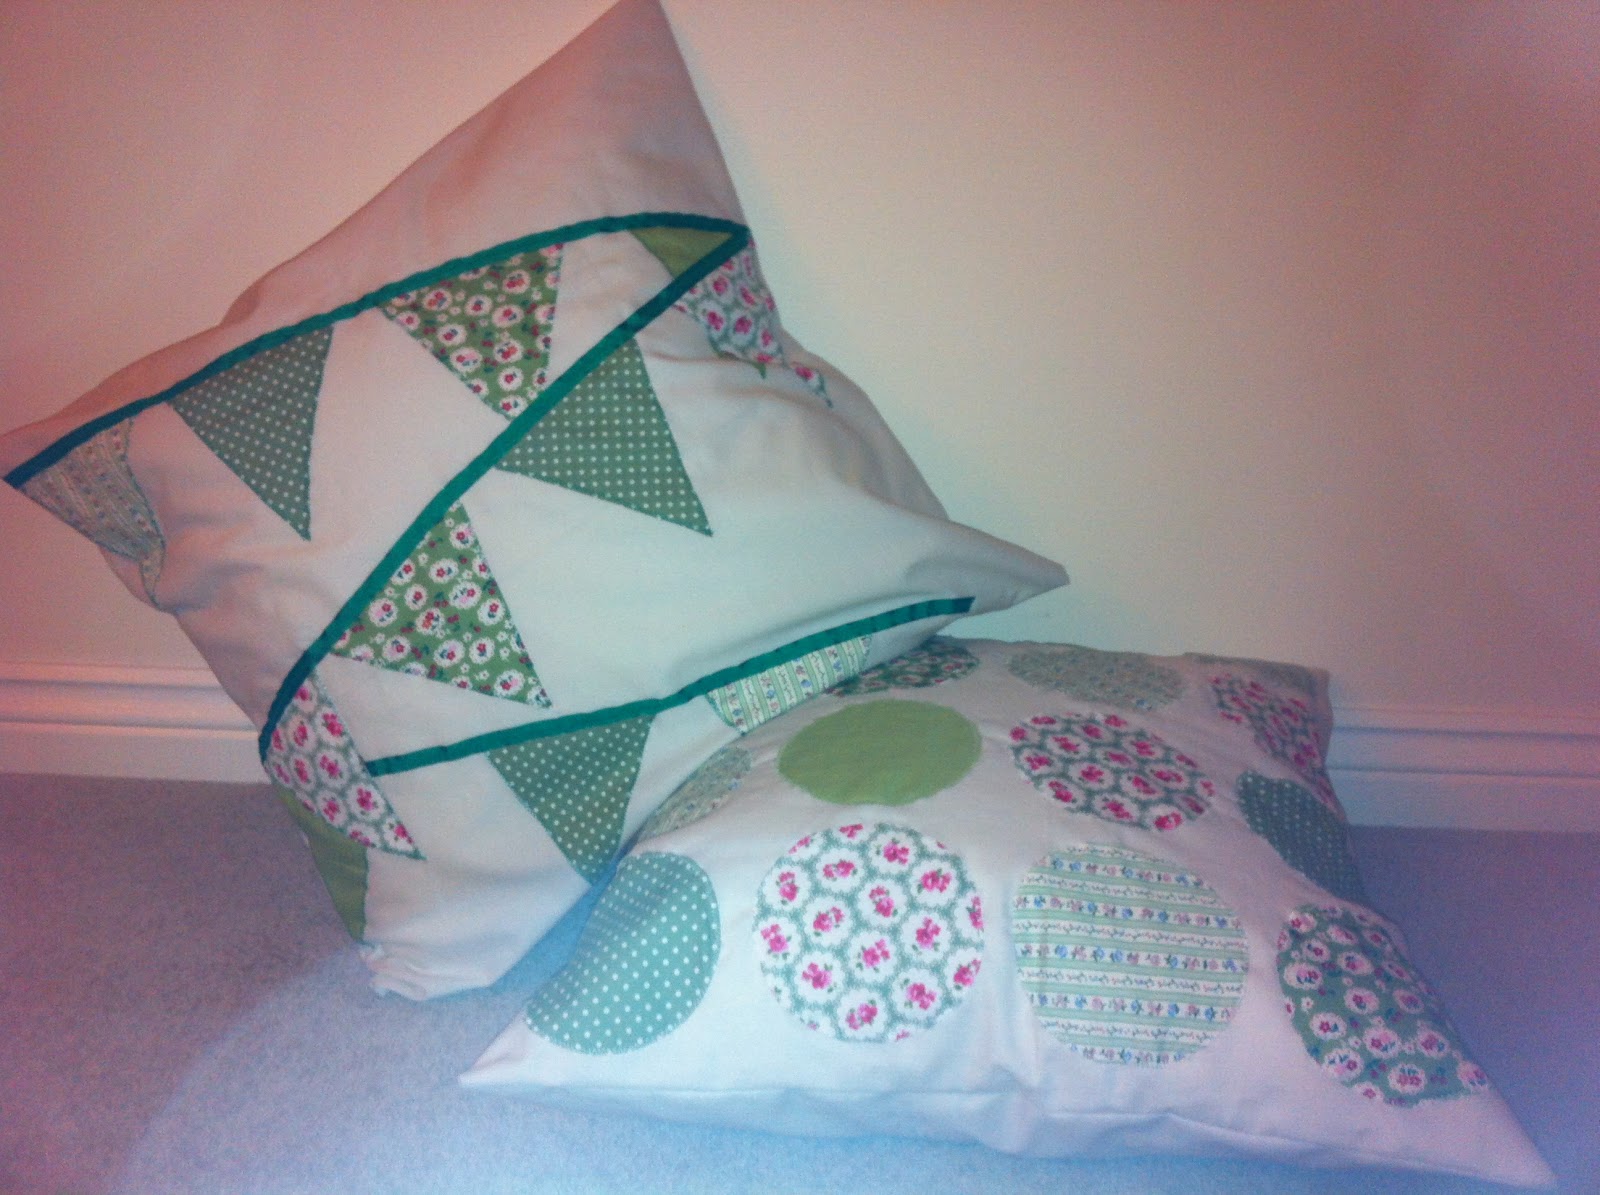
Most of my fabric I get from eBay as I find it cheaper and lots of people do nice bundles of fabric in a certain colour set - as you can see on my green cushions below! However, this time for the main cushion fabric I went to a local shop because I felt I needed to see and feel the fabric to know it was what I was looking for.
The cushions are 50cmx50cm so my cushion pads came from Ikea - biggest bargain of the Christmas shopping! Everywhere I looked large cushions were about £20 - Ikea came in at less than a fiver! BRILLIANT!

I decide to save on cutting and to reduce the risk of me cutting wonky/the wrong sizes and so on, that I would have one long piece of farbic that I would wrap round the cushion. It meant that I only needed to stitch the two sides - the top and both were just one continuous piece of fabric. Does that make sense...?
First - the applique bit! I had planned to make two the same - both with the circles, but on my tiny machine and with my extra long fabric it was quite hard work to machine stitch round all those circles while trying to manouvre a metre of fabric. The circles came out really well - just have patience! However, I was over it and therefore made the bunting style one too. Even easier! Snipped some triangles as shown and attached them to the fabric using my sewing maching - I use green cotton to add to the effect, and them simply attached green ribbon using another green zigzag stitch to give the 2012 summer bunting effect!

Again, I hemmed the edges that would be showing on the back of the cushion before joining the edges up the sides - simples!


A gift I was given!

The below was not made by me, but given to us as a gift by a very talented friend and I think it is so amazing that it worth a mention! She has taken the time to photograph all sorts of random objects (In this case a boot scrapper, the frame of a bed, some string, a scrabble tile, a tree, a fence and some wood) and as you can see she has put them together to spell our family name.

I think this is so adaptable to whatever you want it to be - keep it similar for a wedding gift, or something, or you could make your childrens names for their bedrooms and so on

I love it so much - it was on the wall the minute we got home!!

 
It's never too early to start thinking about the things you could make for people as gifts - they dont have to be for Christmas, birthdays, mothers day etc all work. The thought process by you makes you feel proud of what you have given, but they also know that you have taken the time to create something from nothing.
If you are imaginative you can just free style which can be fun, but you can buy all sorts of basic books with step by step guides to making things - mine come from Amazon as I find them the cheapest!
 
Good luck!

Toys for little ones

These are some toys we've made for friends children that I thought I'd share just for you to see. I've tried to use old bits and bobs for these smaller toys, and to accessorise the letters to keep the costs down as often the children have grown out of them after a short while.


Decorated letter
MDF letters - painted and decorated
Toy giraffe
Toy giraffe for a baby

Toy elephants
Stuffed elephant.

Tuesday, 27 August 2013

Up-cycling!

With some inspiration from some bits and bobs I'd seen online, and of course from Kirstie Allsopp 'Fill Your House', I decided to up-cycle our French dresser from old fashioned orange to a yummy neutral cream colour.

Before and After
 
Below I have explained how I did this, and the products I used.
 
 
1. Using a Black and Decker Mouse I sanded down the entire dresser . You could use whatever sander you want, but I found this helped with the nooks and crannies of the dresser.
2. When deciding which sections to paint, and what to leave as bare wood just remember that you can always add more later - much easier than taking paint and primer off again!
3. I used a Homebase own primer - I decided to choose one that was water based to make it easier to clean up. I have since read that an oil based primer is more durable, so it's really swings and roundabouts!
4. I then used an eggshell paint for the matt look you see in the picture.
 
That's it! It took me a total of about 5 hours, which I think is pretty reasonable considering it's size and it was my first attempt.
 
In hindsight:
 - use good quality brushes so that you don't have to keep picking bristles off your lovely new upcycled furniture!

Friday, 5 July 2013

Being pregnant

This is an extract from a diary entry I made shortly after L was born. I think it might have started out as a blog plan, but I'm not sure really! Anyway - my thoughts on being pregnant.

I LOVED being pregnant! I have read lots of blogs, facebook sites, random comments and conversations with friends, family and strangers. People seem to have had varying experiences for a variety of reasons but I loved it!


Pregnant tummy
This is the day before I gave birth.

  • A bit of hip/back pain, plus the obvious tiredness called for some discomfort or upset most days but I just didn't care. I was amazed that my body was growing this little person, who was wriggling around inside me.

  • Everytime I looked down at my feet, bump, looked in the mirror, I was reminded of what was coming. The wriggling baby had me hooked - addicted to the private moments we were sharing.

  • As the sleepless nights increased in frequency and length, I simply enjoyed being kicked and prodded. Chatting to it and telling it how excited we were to meet it.

  • Some people seemed...amused (?)...at how relaxed we were - as though we didn't know what was coming. I knew it would be hard work and challenging - but it was exciting.

  • I was looking forward to childbirth and excited to allow this little person to take over my life. Nothing was going to stand in our way.

What did you love, or hate, about being pregnant?


Since writing this diary entry I have found out that both of my brother's will have had babies by the end of 2013. Their partners are busy exchanging tales with one another and I am so jealous! Ha - I would just love to be pregnant with my two lovely SILs and to be able to share with them this fabulous experience.

Our experience of child birth

I am fascinated by other peoples child birthing stories. Some are lovely, some are scary, some are simple, others complicated - but I love them all! This is simply our version of events. Please feel free to comment some of your own. While we were pregnant it seem bizarre to have no idea what it would be like. Hearing other people's stories helped me - perhaps it will help someone else.

It all started after some peaceful sleep (at last!). It was early morning and Rob was getting ready for work when I came out of the bathroom, worried about the blood on the tissue. It was wet like waters, and it wasn't mucus-y like I expected the show to be. It was one week before our due date so we spoke to the community midwife and the labour ward who suggested we go in to be checked over.

Withing a few hours the head midwife had declared we were in labour having seen the contractions on the trace. At this point I could feel them, but they didn't hurt. Our little baby's heart beat had dropped a few times so we set up camp for the day.

They broke my waters to help things along, but within a few hours the contractions had stopped so we had to be hooked up to a hormone drip to induce the contractions again. Having broken my fore waters, my hind waters broke on their own. It felt like I had wet myself and it was quite uncomfortable. My amazing husband cleaned it while I sorted myself in the bathroom. The first of many things I didn't expect to need him for.

The labour continued to progress with the drip but it meant we couldn't have the water birth we had planned for. I had been very relaxed about the 'birthing plan' - thinking of it as a guide rather than a plan, but now I was lost! What pain relief would I need and when?

The contractions were coming every few minutes and although they were painful they were bearable. Rob and I found our rhythm at helping and being helped. I was so relieved - I thought I'd be snappy and grumpy at him but I was simply amazed that this experience was happening to us. I felt lucky all day. The baby's heartbeat kept dropping and they didn't know why. There were several conversations about it all, but we were sent for a cesarean section.

I was so scared I was shaking all over, but I was also excited that our baby would be here in a very short time; Rob would be there to hold my hand and together we would finally see our baby for the first time.

I was wrong.

The senior anaesthetist tried in between three different vertebrae and couldn't get the spinal block in. It was the most painful thing I have ever experienced. A lovely midwife - Emma - pulled my head and shoulders forward to curve my spine, and I tried curling up on my side but it was no good. I had to have a general anaesthetic - Rob wouldn't be there and I would be asleep. I cried and cried as the team prepared me. I was worried that I wouldn't be there for the first few hours and that Rob would be alone. I had to remind myself that it was a small sacrifice for our distressed baby.

The recovery from the general anaesthetic is in a different blog because it sort of ruins the story of the best day of my life!

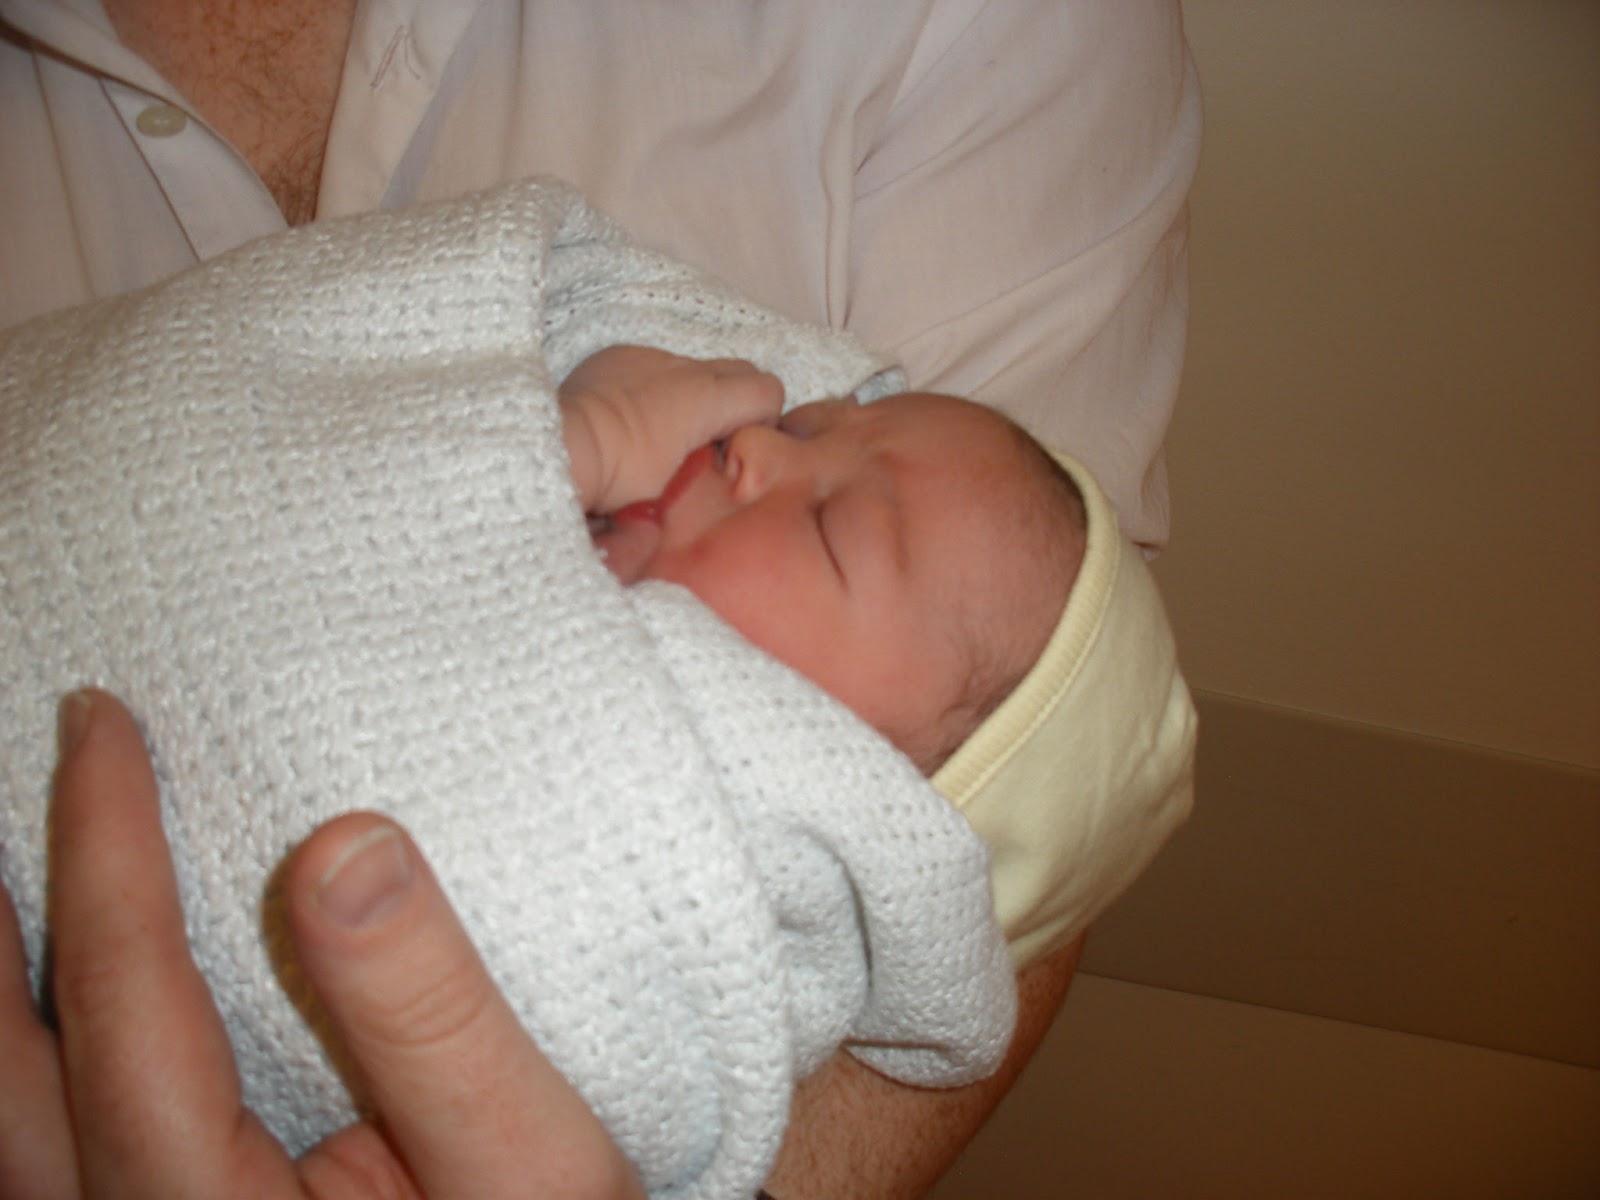
Rob brought our new baby into the recovery room with the midwife. He came right up to my face and I'll never forget the look on his face as he said "It's a boy, and his name is Lawrence".


At once all the troubles of the day were gone - they simply didn't matter because the happiness I shared with my husband at that moment overruled everything.

It took me about 6 weeks to be able to tell this story without being emotional and upset.