I wanted to share some hand made bits and bobs that I made for Christmas presents this year. Some are from my own imagination, some I have made from patterns in books and some I have copied from things I have seen in books/online/other blogs etc etc
Enjoy!
Pin Board for Mum -
Easiest and quickest thing I have ever made!! There is a piece of foam board inside that was about a fiver from Hobbycraft - I cut it in two and made two A2 (ish?) pin boards. I used spray adhesive to stick some wadding and the fabric, then used a glue gun to stick the ribbon on the top and the edges so that things can be hung from it. Quick easy and a lovely gift - my mum uses hers in the kitchen, but also takes it to her craft fayres to display things she's made - like brooches or cards and so on.You could put some fabric on the back too if you wanted it to look a little bit more professional/neat as my edges were a bit scrappy on the back. I have also seen people using a cork board inside so that you can add pins rather than pegs as I have used here, but you would need to avoid the wadding if that was the case for you!
 |
| The finished product |
Cushions for a friend
These are actually from last year.These cushions were quick and easy - two squares of fabric sewn together (even with my limited sewing experience last year!). The middle is pinched together using self covered buttons (available from good haberdashery shops or online). Last year my experience was rather limited and I ended up making the cushions before buying the cushion pads - idiot! And I also should have bought nicer quality fabric to make them look a little nicer - but hey, you live and learn!

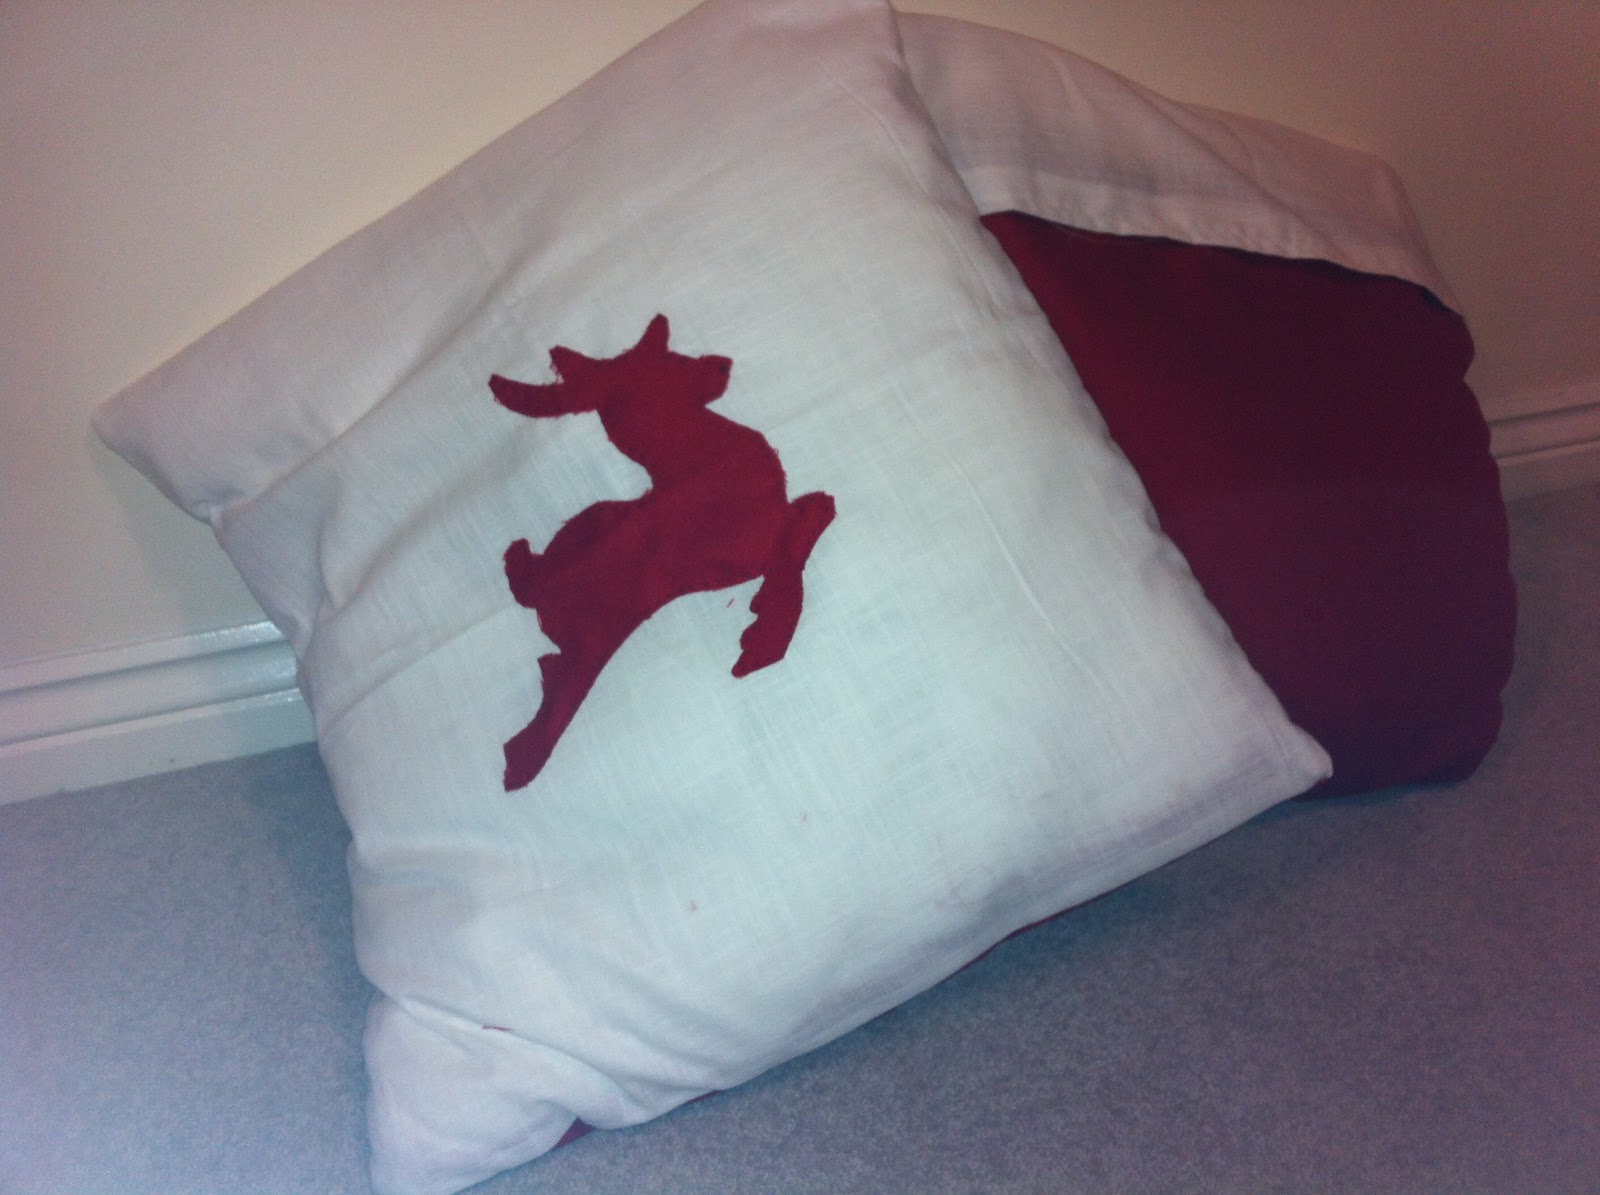
Christmas cushions for our house
These cushions were made using left over fabric from some other projects - hence the red and white backs! I downloaded the simple reindeer shape from the internet - a simple google images search! And used that as a template for my fabric. I hand stitched them to the cream colour backing fabric to get the effect that I wanted, but you could easily zig-zag stitch them on for a sturdier and neater finish.
I am yet to master attaching a zip so all my cushions have fold-over backs. To do this I hem the edges of the fabric where it will be showing before I attach the cushion backing to the front cover to get a neater finish.
As I said - all very basic, but it works for me and hopefully my short tips can help other beginners at this activity!

Cushions for the In-Laws!
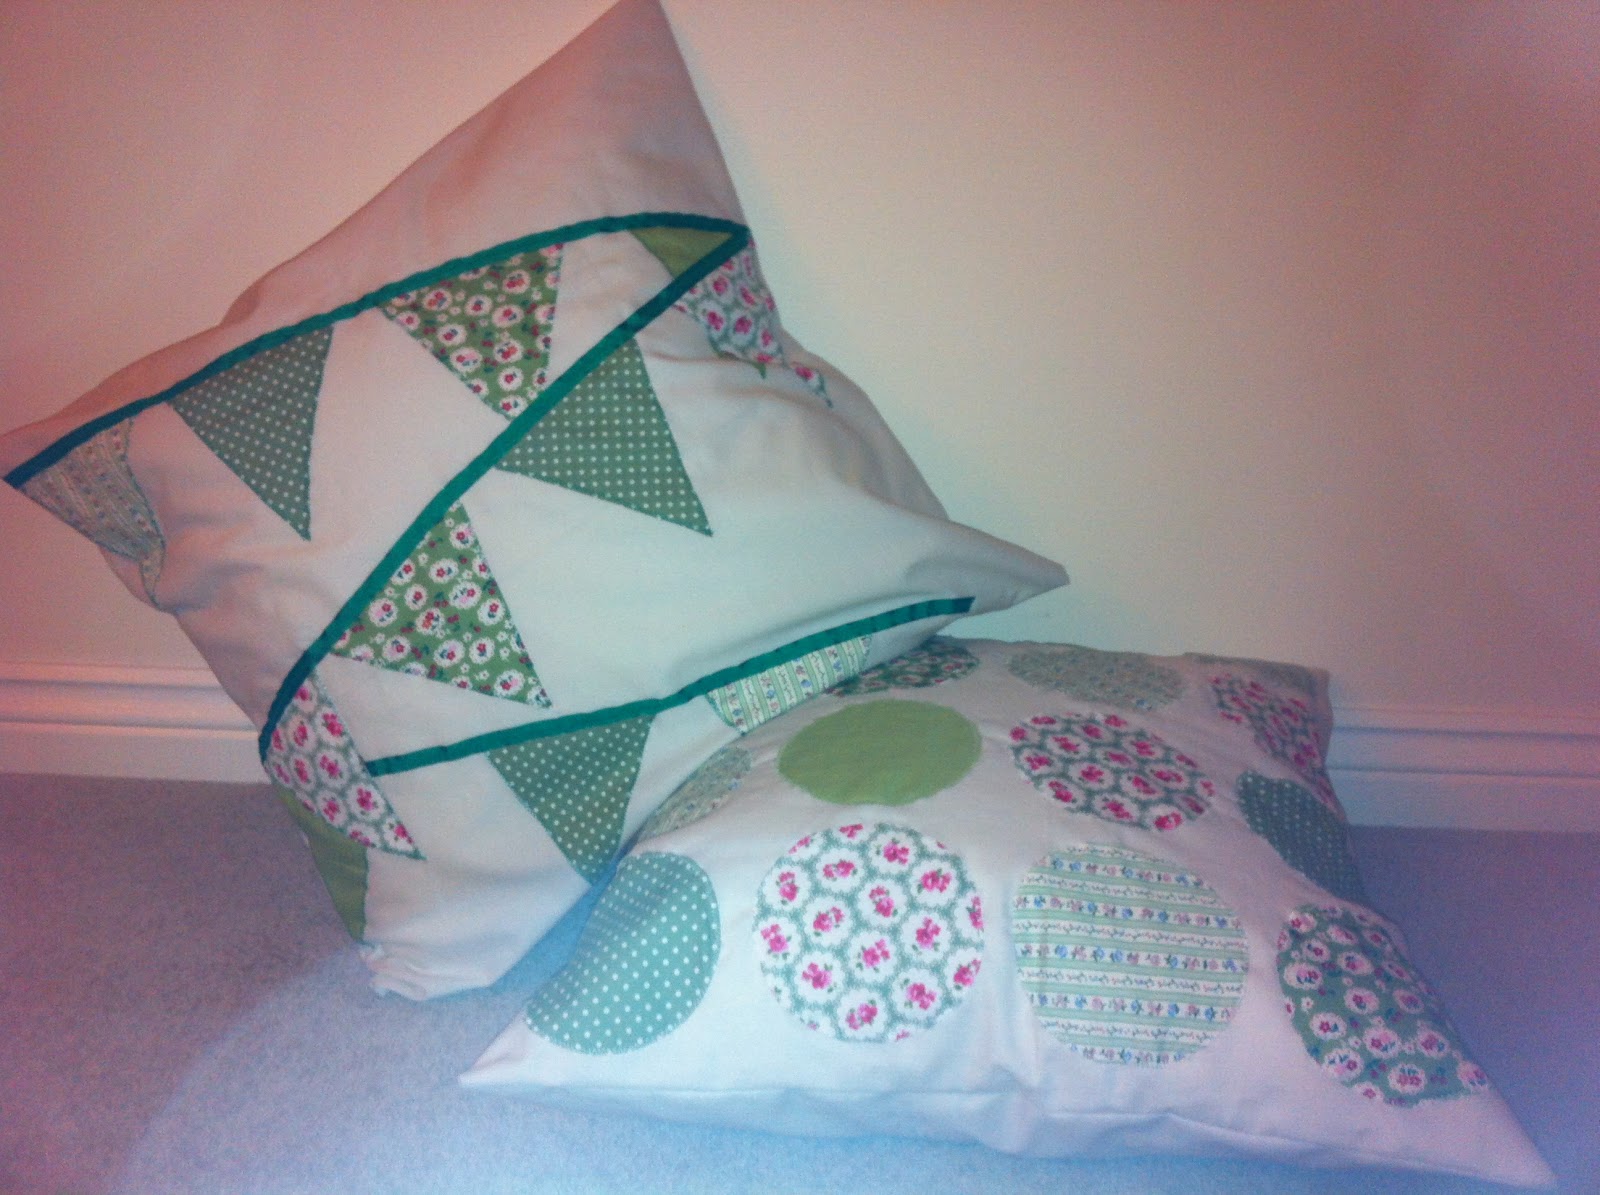
My mother-in-law is an avid crafter so I was nervous about doing these, but with a baby on the way we needed to be saving money! Making them cost relatively little, and it kept me entertained for free!Most of my fabric I get from eBay as I find it cheaper and lots of people do nice bundles of fabric in a certain colour set - as you can see on my green cushions below! However, this time for the main cushion fabric I went to a local shop because I felt I needed to see and feel the fabric to know it was what I was looking for.
The cushions are 50cmx50cm so my cushion pads came from Ikea - biggest bargain of the Christmas shopping! Everywhere I looked large cushions were about £20 - Ikea came in at less than a fiver! BRILLIANT!
I decide to save on cutting and to reduce the risk of me cutting wonky/the wrong sizes and so on, that I would have one long piece of farbic that I would wrap round the cushion. It meant that I only needed to stitch the two sides - the top and both were just one continuous piece of fabric. Does that make sense...?
First - the applique bit! I had planned to make two the same - both with the circles, but on my tiny machine and with my extra long fabric it was quite hard work to machine stitch round all those circles while trying to manouvre a metre of fabric. The circles came out really well - just have patience! However, I was over it and therefore made the bunting style one too. Even easier! Snipped some triangles as shown and attached them to the fabric using my sewing maching - I use green cotton to add to the effect, and them simply attached green ribbon using another green zigzag stitch to give the 2012 summer bunting effect!
Again, I hemmed the edges that would be showing on the back of the cushion before joining the edges up the sides - simples!


A gift I was given!
The below was not made by me, but given to us as a gift by a very talented friend and I think it is so amazing that it worth a mention! She has taken the time to photograph all sorts of random objects (In this case a boot scrapper, the frame of a bed, some string, a scrabble tile, a tree, a fence and some wood) and as you can see she has put them together to spell our family name.I think this is so adaptable to whatever you want it to be - keep it similar for a wedding gift, or something, or you could make your childrens names for their bedrooms and so on
I love it so much - it was on the wall the minute we got home!!

It's never too early to start thinking about the things you could make for people as gifts - they dont have to be for Christmas, birthdays, mothers day etc all work. The thought process by you makes you feel proud of what you have given, but they also know that you have taken the time to create something from nothing.
If you are imaginative you can just free style which can be fun, but you can buy all sorts of basic books with step by step guides to making things - mine come from Amazon as I find them the cheapest!
Good luck!


